Editing the Brand Notebook and Working with the Brand Assistant
At a glance
| Topic | Details |
|---|---|
| Best for | Turning a rough draft into a reusable style guide that later tools can trust. |
| Start here | Open a specific brand from the Brand Library. |
| Outcome | A cleaner saved notebook, fewer off-brand surprises, and safer assistant-assisted edits. |
Open it now
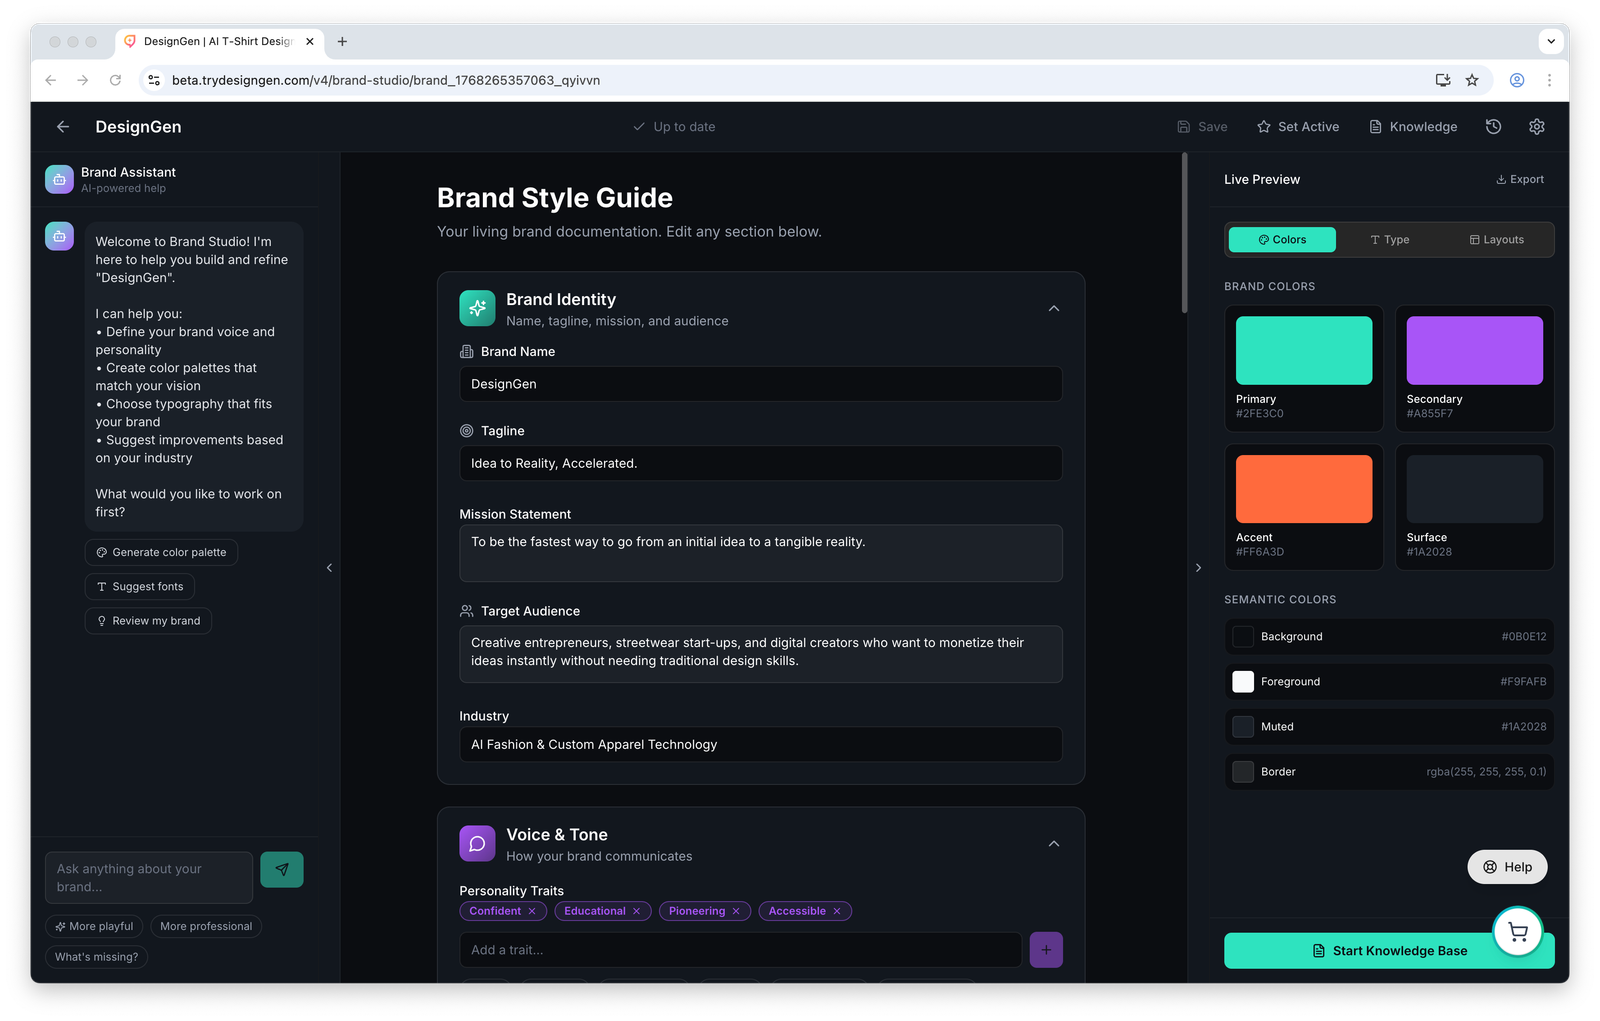
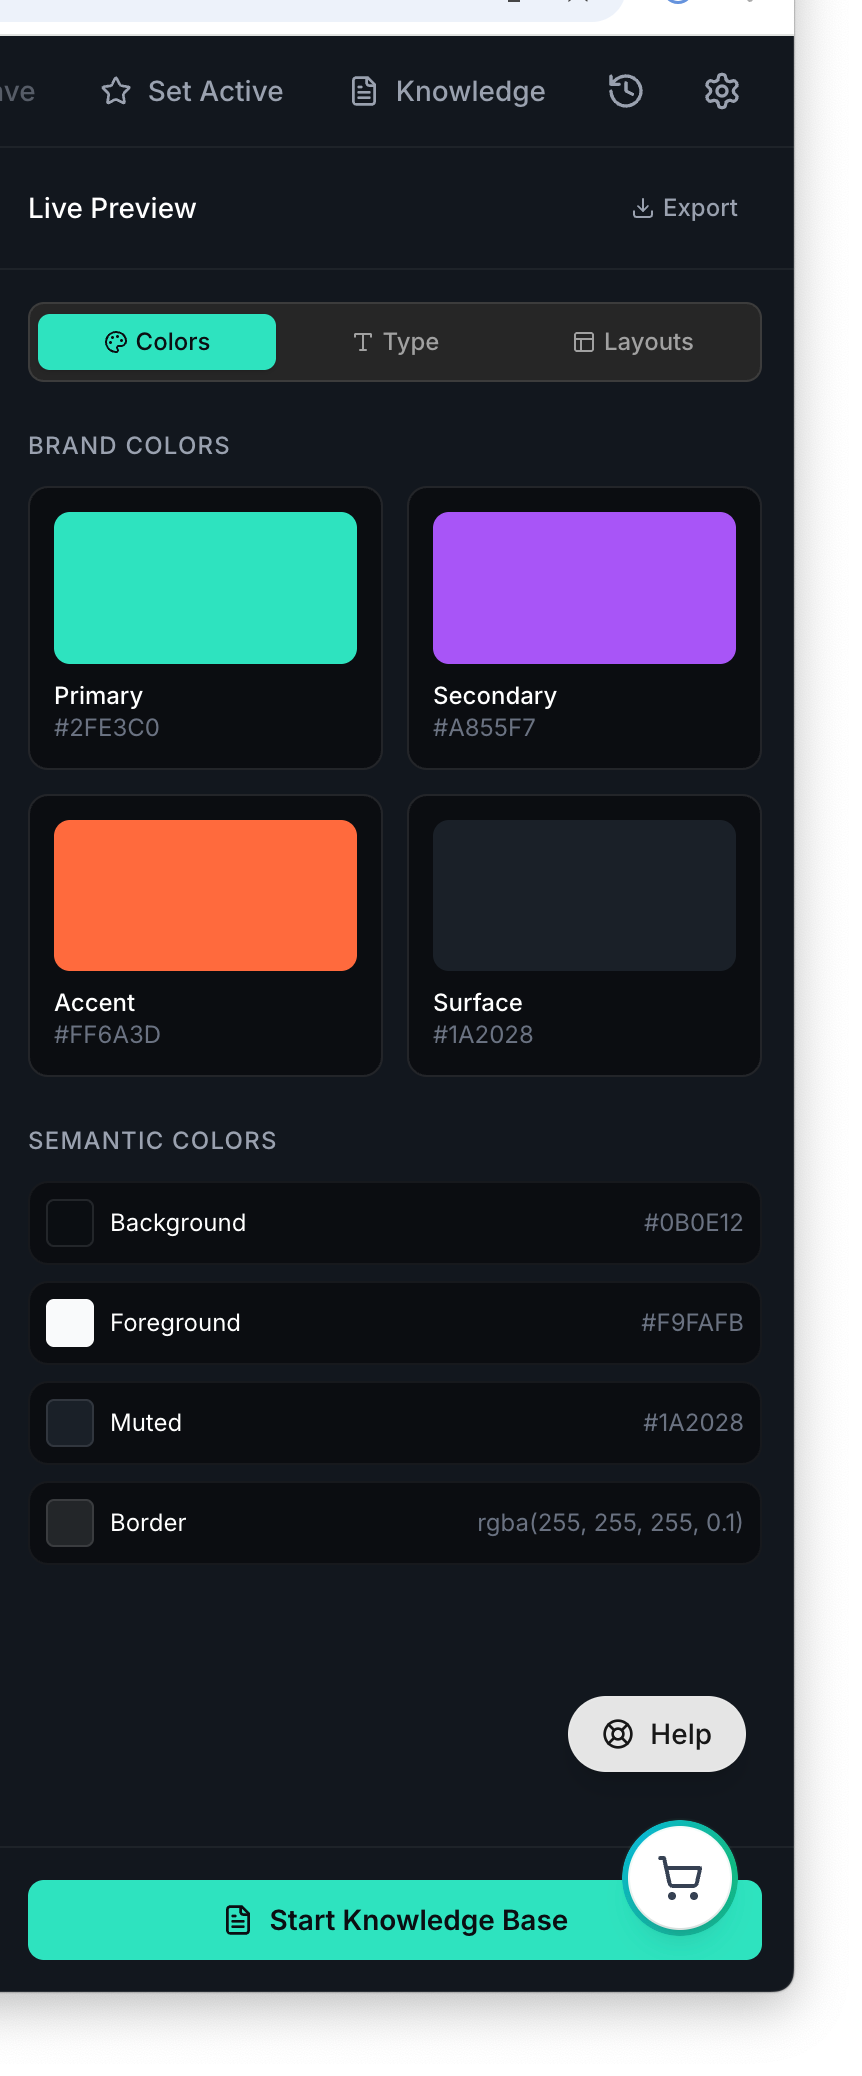
The editor is split into three jobs: assistant on the left, source-of-truth notebook in the center, and saved-token preview on the right.
Before you start
- The notebook is the source of truth. Treat it as the place where the real brand is written down.
- Save before you ask the assistant to apply a patch. Unsaved local changes block automatic assistant updates.
- The preview reflects the saved brand version. It is useful for review, but it is not a live mirror of unsaved notebook edits.
How the editor is laid out
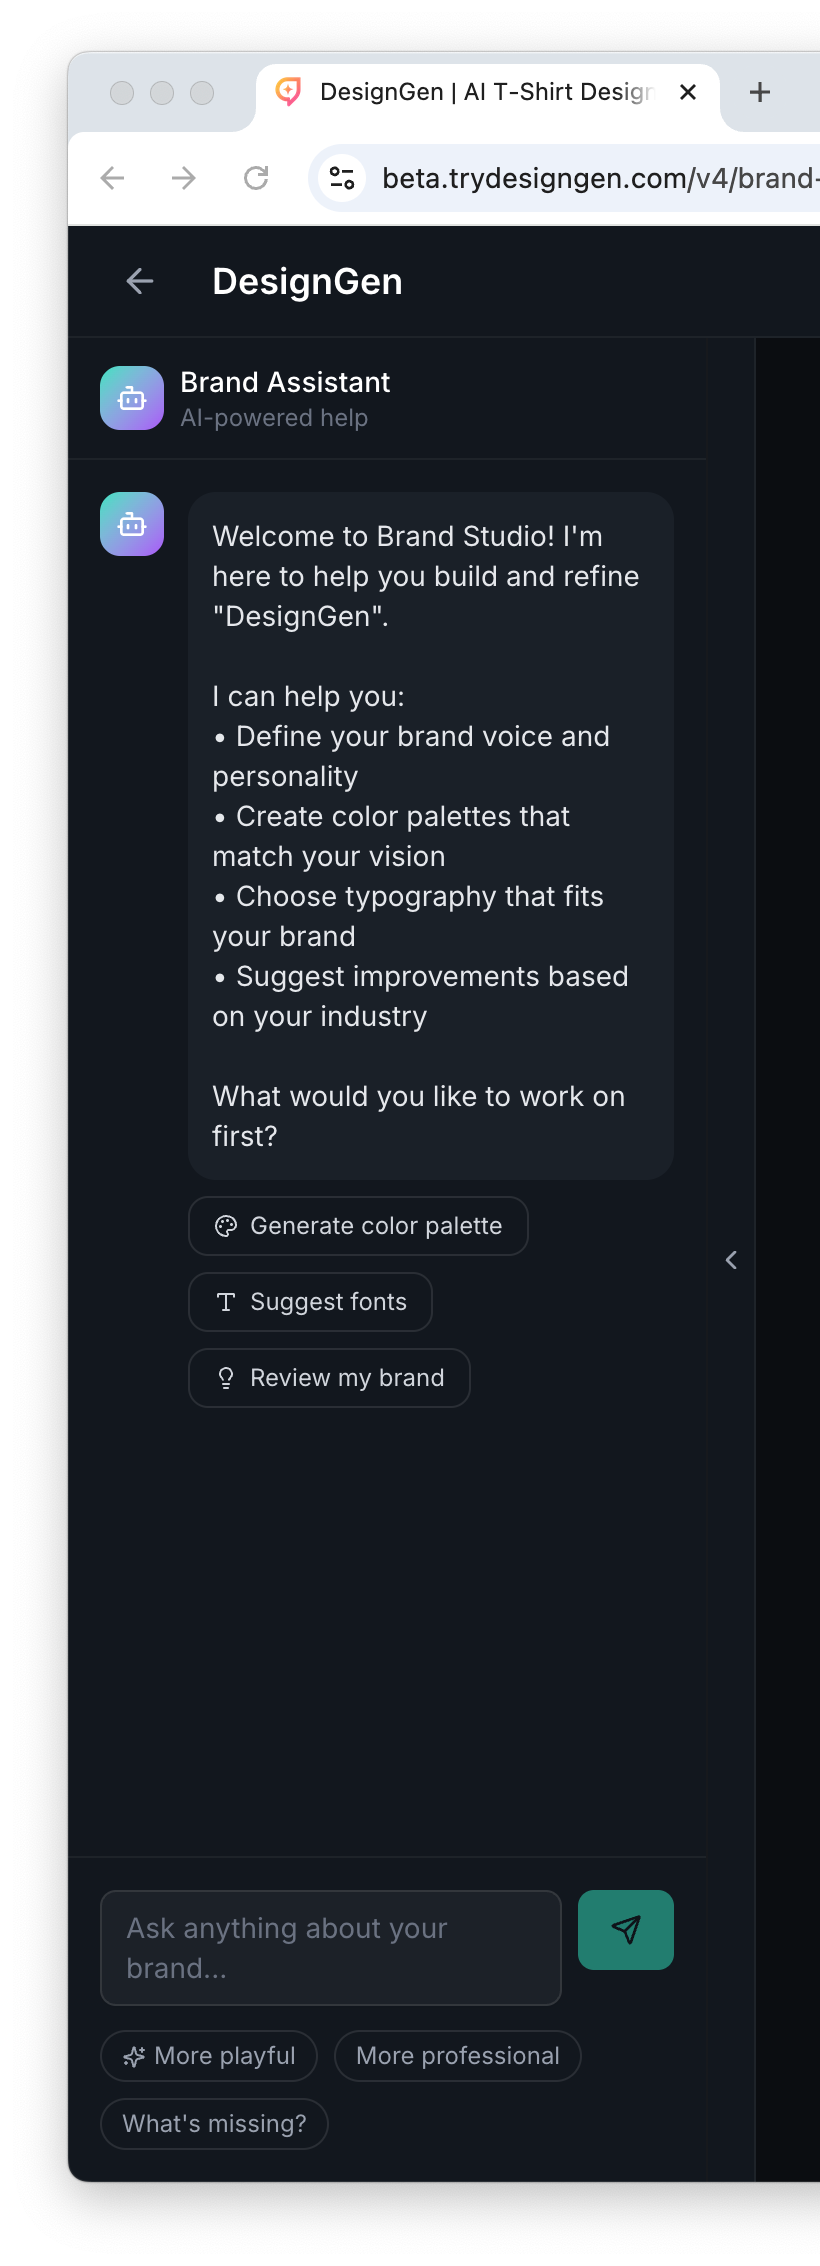
- The left panel is the Brand Assistant chat.
- The center panel is the Brand Style Guide notebook.
- The right panel is the Live Preview with tabs for Colors, Type, and Layouts.
- The top bar shows save state and actions such as Save and Knowledge.
Use the assistant to sharpen sections, not to replace the notebook as the canonical source.
What lives in the notebook
- Brand Identity: name, tagline, mission, audience, and industry.
- Voice & Tone: personality traits and communication guidance.
- Colors: primary, secondary, accent, and semantic colors.
- Typography: heading, body, and type system choices.
- Logo Assets: uploaded marks and generated variants.
- Imagery and Layout: reusable visual system rules.
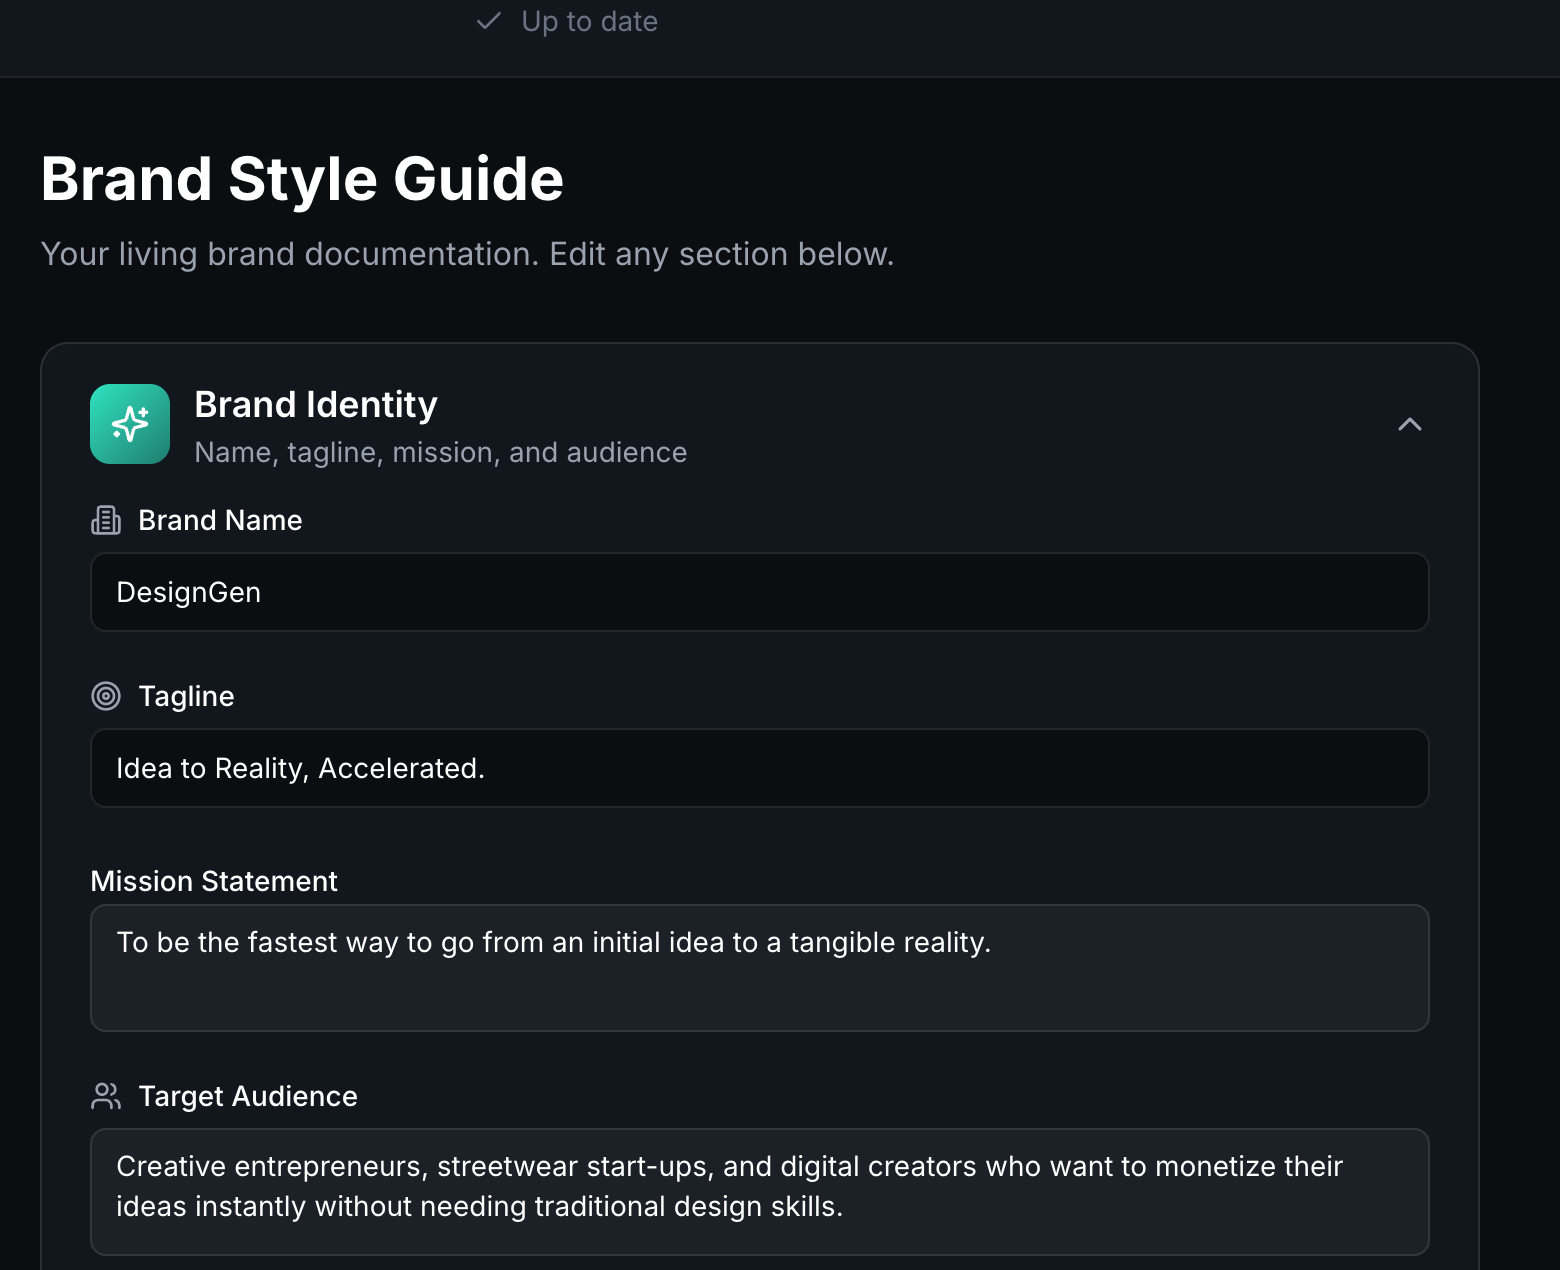
Identity should answer two simple questions: who is this for, and what are you trying to make unmistakably true?
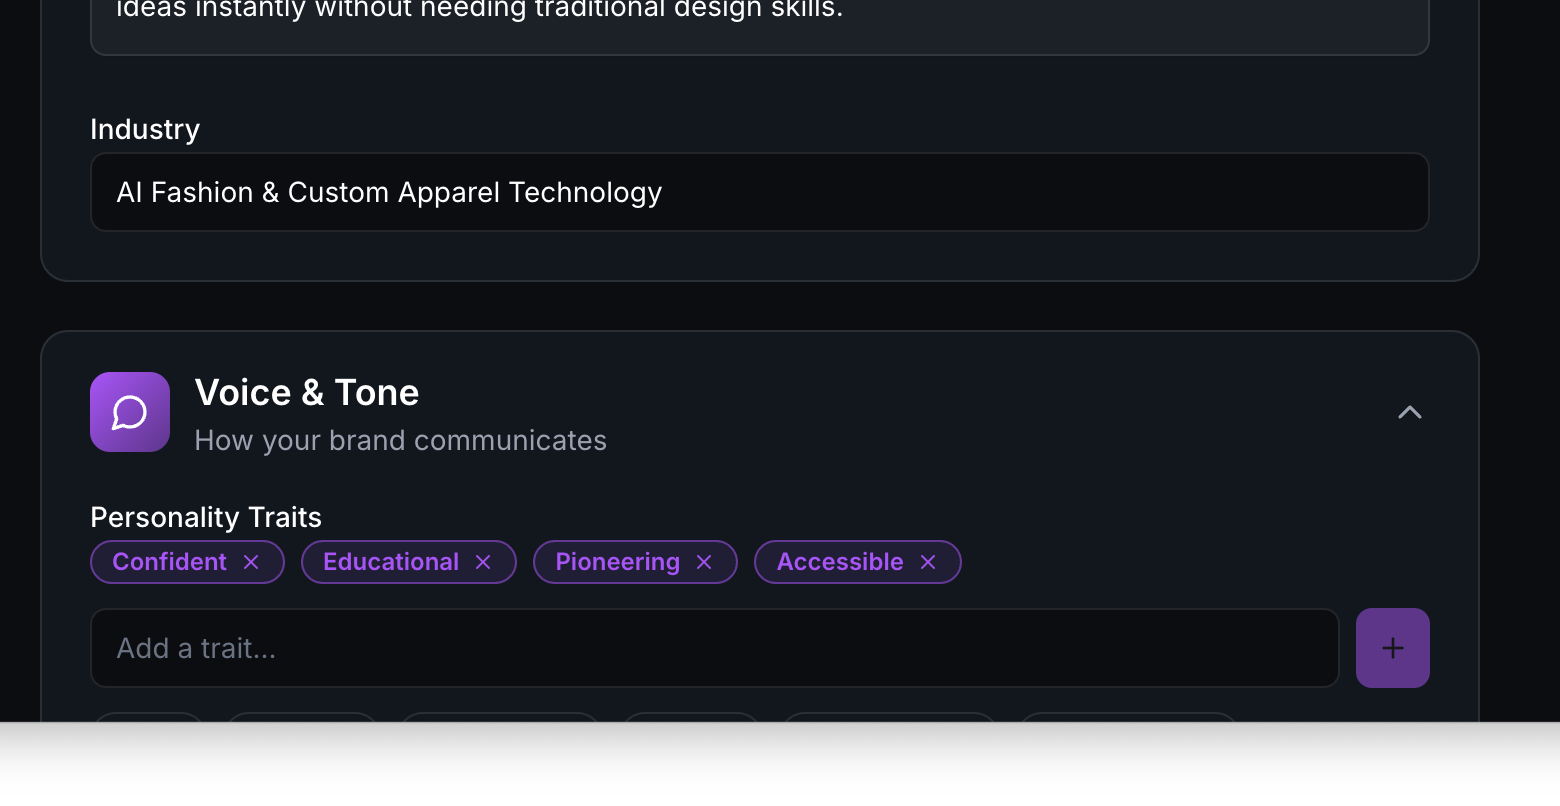
Voice traits have outsized impact because later tools lean on them constantly.
The safest editing pattern
- Edit the notebook directly for the parts that define the real brand.
- Use the assistant when you want help reviewing, sharpening, or expanding a section.
- Save after each meaningful set of changes.
- Check the preview tabs to make sure the saved tokens still make sense visually.
Unsaved changes matter: The assistant will not auto-apply patch-style updates over unsaved local edits. Save first, then apply the assistant update.
Use preview to review saved tokens. If the notebook is unsaved, expect the preview to lag behind your local edits.
How the assistant actually works
- The assistant reads the saved brand version, not a hidden private draft.
- It can suggest changes or return patch-style updates.
- Those updates can auto-apply only when the editor does not have unsaved local changes.
- If you have unsaved edits, save first or finish your local edits before you ask the assistant to write into the notebook.
When to use the top actions
- Save when the local notebook has changed.
- Knowledge when you need to add facts the brand should remember outside the style guide itself.
- Set Active when this brand should become the default brand for later work.
Practical editing advice by section
| Section | What to tighten first | Why it matters later |
|---|---|---|
| Brand Identity | Audience, mission, and tagline | These shape how later tools frame the brand and who it serves. |
| Voice & Tone | Traits, do's, don'ts, and sample copy | These keep outputs from sounding generic or off-brand. |
| Color Palette | Primary, accent, and text colors | These are visible in previews and downstream assets. |
| Typography | Heading/body pairing | These affect the overall feel of the brand system quickly. |
| Imagery and Layout | Keywords and spacing logic | These help later generation and design guidance feel coherent. |
Example: Cleaning up an imported brand draft
A website import got the structure mostly right but the voice is still bland.
- Open the brand editor.
- Refine the Voice & Tone section directly in the notebook.
- Ask the Brand Assistant for stronger trait suggestions.
- Save the notebook.
- Check the preview tabs and make sure the saved tokens still fit together.
- Only then mark the brand ready for production work.